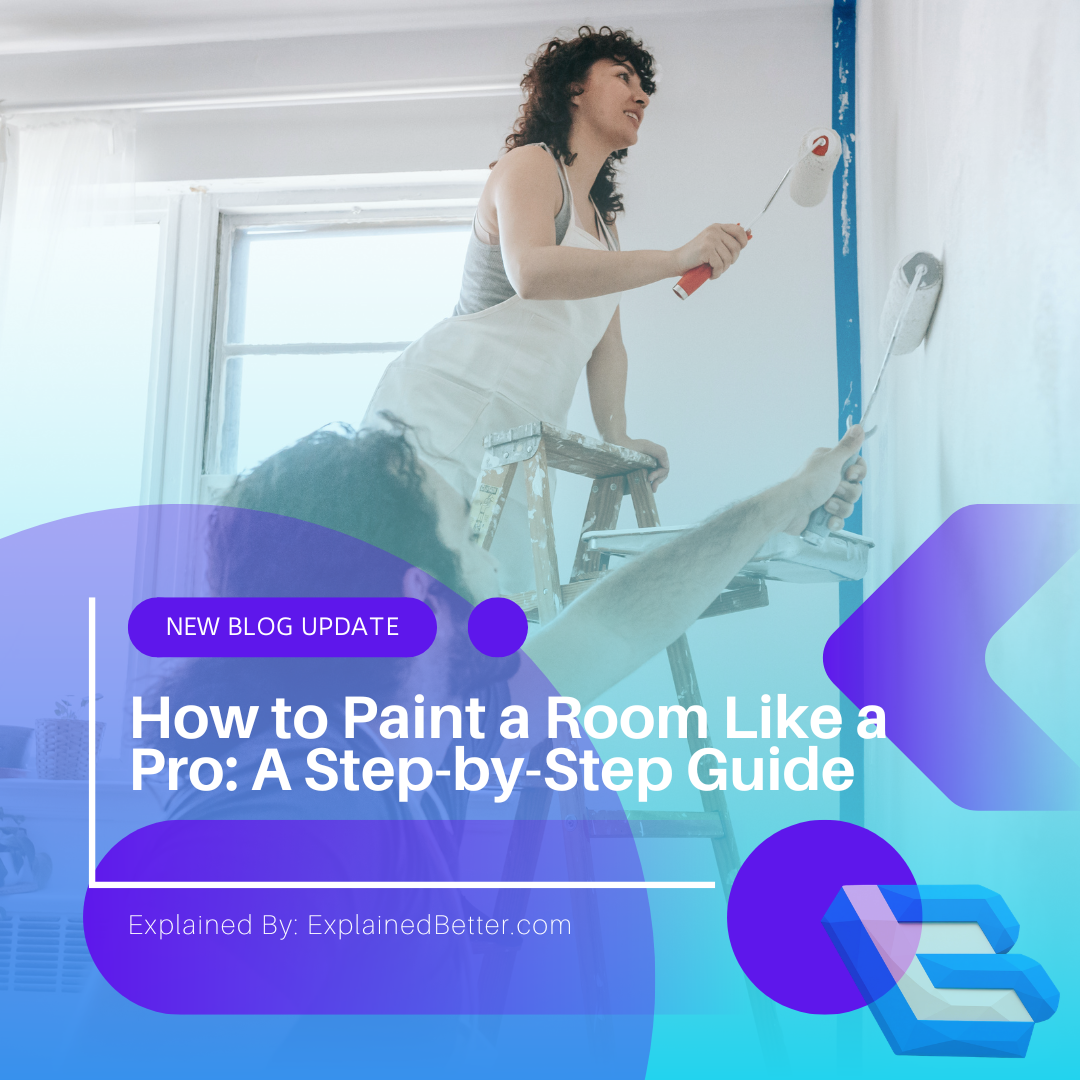

Painting a room is the most popular beginner DIY project there is — and the gap between an amateur job and a professional-looking one comes down almost entirely to preparation and order of operations. Get those right and you’ll be amazed at the result. Here’s exactly how to do it properly.
Key takeaways
- Preparation is 80% of the job — the painting itself is the quick part.
- Paint in the right order: ceiling first, then walls, then trim and doors last.
- “Cut in” the edges with a brush, then roll the large areas while the edges are still wet.
- Two thin coats always beat one thick coat, and primer prevents patchy results.
Why prep matters more than painting
Professionals will tell you the same thing: a great paint job is made before the paint goes on. Rushing to the fun part is the single biggest reason DIY results look amateurish — visible roller marks, patchy coverage, paint on the trim, and lumps in the finish almost always trace back to skipped prep.
The good news is that prep isn’t hard, just methodical. Do it well and the painting stage is quick and genuinely satisfying.
What you’ll need
- Paint (plus primer, unless using a paint-and-primer and painting a similar colour)
- A roller with the right nap for your wall texture, plus a paint tray
- An angled brush (2–2.5 inch) for cutting in
- Painter’s tape and drop cloths or old sheets
- Filler/spackle and a putty knife for holes and cracks
- Sandpaper or a sanding sponge, and a sponge for cleaning walls
- A screwdriver (to remove outlet and switch covers) and an extension pole for the roller
Step 1: Prepare the room
- Clear and coverRemove what you can; move the rest to the centre and cover it. Lay drop cloths over the entire floor — paint spatters further than you expect.
- Remove hardware and coversUnscrew outlet and switch plates, and remove or loosen light fixtures where safe. Painting around them looks messy and is slower than taking them off.
- Clean the wallsWipe away dust, grease and cobwebs, especially in kitchens. Paint bonds poorly to a dirty surface, so this quiet step matters.
- Fill and sandFill nail holes and cracks with spackle, let dry, then sand smooth. Lightly sand any glossy areas so new paint can grip.
- Tape the edgesApply painter’s tape along trim, window frames and the ceiling line where you want crisp edges. Press the edge down firmly to stop paint bleeding underneath.
Step 2: Prime (when needed)
Primer creates a uniform, sealed surface for your colour to sit on. You should prime if you’re covering a dark colour with a lighter one, painting over patches or bare filler, dealing with stains, or painting a fresh or very porous surface. If you’re simply refreshing a similar colour on a sound wall, a modern paint-and-primer product may let you skip a separate primer. When in doubt, priming rarely hurts and prevents patchiness.
Step 3: Paint in the right order
This sequence is what separates a clean job from a frustrating one. Always work top to bottom: ceiling, then walls, then trim and doors. Gravity means drips fall onto not-yet-painted areas, and doing trim last lets you paint neatly against finished walls.
- Ceiling firstIf you’re painting it, do it before the walls so any spatter lands on walls you’ll paint next.
- Cut in the edgesWith your angled brush, paint a band a few inches wide around the edges of each wall — along the ceiling, corners, trim and around outlets — where a roller can’t reach neatly. This is “cutting in.”
- Roll the walls while edges are wetImmediately roll the main wall area, overlapping into the still-wet cut-in band. This blends the two so you don’t see a line where brush meets roller — a common giveaway of a rushed job. Roll in a “W” or “M” pattern, then fill it in, to spread paint evenly without leaving roller tracks.
- Apply a second coatLet the first coat dry fully — check the tin for timing — then repeat. Two thin coats give far better, more even coverage than one heavy coat, which drips and dries blotchy.
- Trim and doors lastOnce the walls are done and dry, paint the skirting boards, door frames and doors, cutting cleanly against the finished walls.
Step 4: Clean up and finish
- Reassemble carefully once everything is dry — replace outlet covers, fixtures and hardware.
- Clean your tools promptly. Water-based (latex) paint washes out with warm water; oil-based needs the appropriate solvent. Well-cleaned brushes and rollers last for years.
- Keep leftover paint labelled with the room and colour for future touch-ups.
- Ventilate until fully cured. Paint can feel dry but take longer to fully harden.
The terms, explained
- Cutting in
- Using a brush to paint the edges and corners a roller can’t reach neatly, before rolling the main area.
- Primer
- A base coat that seals the surface and creates a uniform base, improving coverage and preventing patchiness.
- Nap
- The thickness of a roller’s fabric. Smooth walls need a short nap; textured walls need a longer one.
- Coat
- One layer of paint. Two thin coats give a smoother, more even finish than a single thick one.
- Latex vs oil-based paint
- Latex (water-based) cleans up with water and dries fast; oil-based is more durable but needs solvent and better ventilation.
- Sheen
- How glossy the finish is — from matte to gloss. Higher sheens are more washable but show wall imperfections more.
Some techniques — like cutting in and rolling without leaving marks — are much easier once you’ve watched them done. Our How-To & DIY video guides show the steps in action.
Frequently asked questions
What order do you paint a room in?
Top to bottom: ceiling first, then walls, then trim and doors last. This lets drips fall onto areas you haven’t finished yet, and painting trim last means you can cut cleanly against dry walls.
Do I really need primer?
Not always, but often. Prime when covering a dark colour, painting over patches or bare filler, dealing with stains, or coating a new surface. For a similar-colour refresh on a sound wall, a paint-and-primer product may be enough.
Why does my paint look patchy or streaky?
Usually too few coats, one thick coat instead of two thin ones, letting cut-in edges dry before rolling, or skipping primer over patches. Even coverage comes from thin, overlapping coats applied while edges are still wet.
When should I remove the painter’s tape?
While the final coat is still slightly wet, or after scoring along the edge with a knife. Peeling tape off fully dried paint can lift it and leave a ragged line. Pull slowly at a shallow angle.